In this article we’ll examine wireframes; what they are, the different types that you can create, and some practical advice about how to improve your own.
This short animated video will give you an overview of how and why they are such a valuable tool.
What are wireframes?
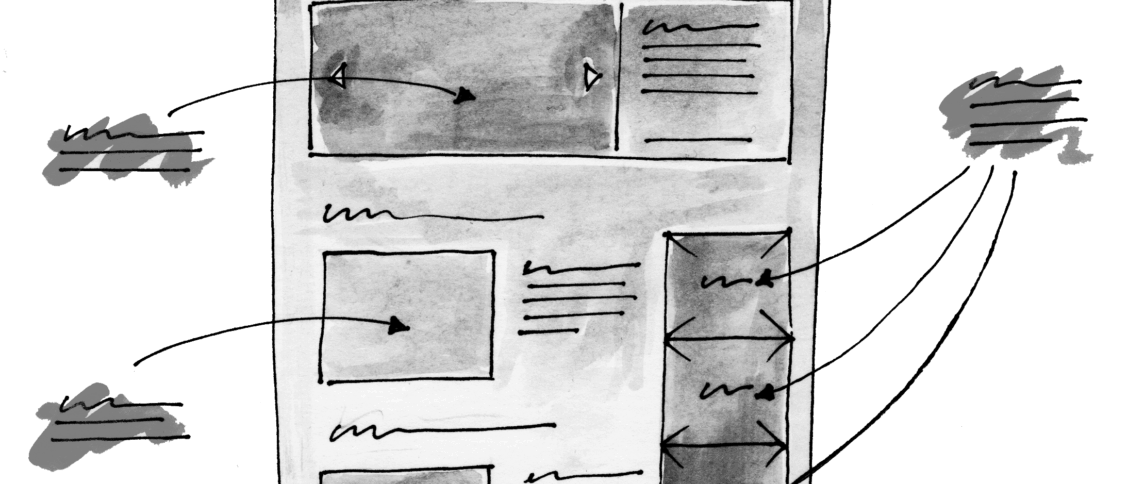
A wireframe is like an architect’s drawing. It’s a draft visual representation of your user interface. You can use them to communicate four things.
- The structure of your navigation and information architecture.
- Layout, which includes page hierarchy and placement of elements on the screen.
- Real content. Wireframes give content writers an idea of how content will be placed within the design.
- Functionality – Wireframes can describe how your product will work, and how it interacts with the people using it.
Wireframes are an indispensable tool in any UX designers’ toolkit, and they come in handy in many situations. They can be created at varying levels of fidelity, and this is what makes them so powerful.
How much detail?
At the low-fidelity end, you have the hand-drawn sketch. Sketches are a great way to flesh out ideas on your own or with your team. They’re fast to create and quick to iterate on. It doesn’t matter if you’re not great at drawing – anyone who can draw a square, a circle and a triangle is perfectly capable of creating sketches.
Next, we have the more traditional wireframe. There are literally hundreds of tools that we can use to create these. Balsamiq, Omnigraffle, Illustrator and UX Pin are just a few examples.
Wireframes like this allow you to communicate your ideas to your team, your clients and your stakeholders. They can be very useful to explain your product, and exactly what you’re building.
At the high-fidelity end of the spectrum, a clickable prototype lets you design interactions and user flow. Clickable prototypes are the way to go when conducting usability testing. You could use Axure, Keynote or even create wireframes directly into the browser using HTML, with the help of frameworks such as Foundation or Bootstrap.
Sometimes a quick sketch is all you need. Other times, an annotated wireframe is more appropriate. It really depends on the project, and the stage you’re at. Your wireframes should convey just the right amount of detail, and no more.
Here are just a few practical tips to keep in mind when you’re wire-framing:
Keep them simple
The key to wireframing is speed and simplicity. We will ultimately throw wireframes out, so in most cases they don’t need to be highly polished or pixel perfect.
Use a grid
Grids create structure and simplicity to your layouts. Every decent website these days is built on a grid, so make sure you’re using one in your wireframes too.
Use short, sharp annotations
Unlike a 50 page functional spec doc, team members actually read wireframes more than any other document. So make sure you add some key annotations. Don’t go overboard though. Keep them brief and to the point.
Encourage feedback
Finally, sharing your wireframes, and encouraging feedback from your team members is a sure-fire way to improve them. So, stick your wireframes up on the nearest wall, and encourage your team, and anyone else, to give you feedback.
As you can see, wireframes can be easy to create, but it does take some experience to understand when and how to get the most out of them.
As with most things, practice makes perfect!


Great video. I’ve learned a lot. Thanks !