You are not your users. But if you can find your users and learn from them as you design, you’ll be able to create a better product.
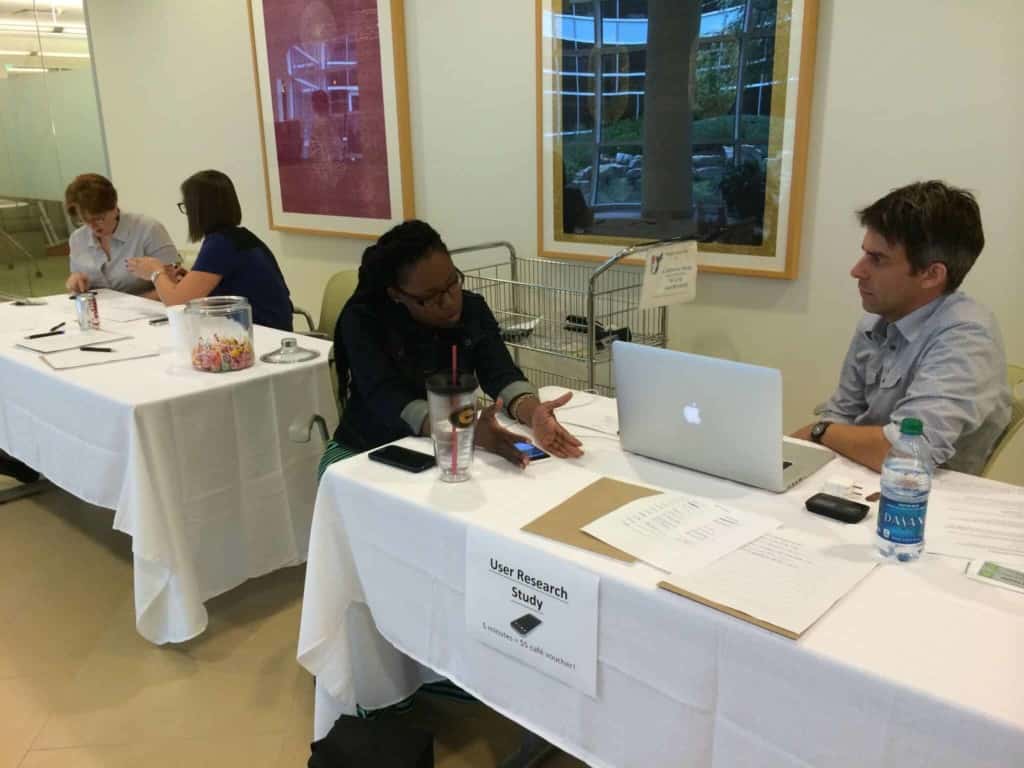
Usability testing comes in many forms: casual cafeteria studies, formal lab testing, remote online task-based studies and more. However you choose to carry out your testing, you’ll need to go through these five phases:
- Prepare your product or design to test
- Find your participants
- Write a test plan
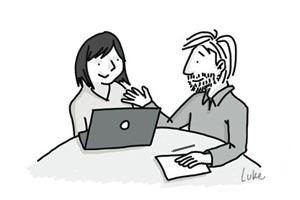
- Take on the role of moderator
- Present your findings
That’s it. A usability test can be as basic as approaching strangers at Starbucks and asking them to use an app. Or it can be as involved as an online study with participants responding on a mobile phone.

Usability testing is effective because you can watch potential users of your product to see what works well and what needs to be improved. It’s not about getting participants to tell you what needs adjusting. It’s about observing them in action, listening to their needs and concerns, and considering what might make the experience work better for them.
Early on, usability tests in computer science were conducted primarily in academia or large companies such as Bell Labs, Sun, HP, AT&T, Apple and Microsoft. The practice of usability testing grew in the mid-1980s with the start of the modern usability profession, and books and articles popularised the method. With the explosion of digital products, it’s continued to gain popularity because it’s considered one of the best ways to get input from real users.
A common mistake in usability testing is conducting a study too late in the design process. If you wait until right before your product is released, you won’t have the time or money to fix any issues – and you’ll have wasted a lot of effort developing your product the wrong way. Instead, conduct several small-scale tests throughout the cycle, starting as early as paper sketches.
Create a design or product to test
How do you decide what to test? Start by testing what you’re working on.
- Do you have any questions about how your design will work in practice, such as a particular interaction or workflow? Those are perfect.
- Are you wondering what users notice on your home page? Or what they would do first? This is a great time to ask.
- Planning to redesign a website or app? Test the current version to understand what’s not working so you can improve upon any issues.
Once you know what you’d like to test, come up with a set of goals for your study. Be as specific as possible, because you’ll use the goals to come up with the particular study tasks. A goal can be broad, such “ Can people navigate through the website to find the products they need?” Or they can be specific, such as “Do people notice the link to learn more about a particular product on this page?”

You also need to figure out how to represent your designs for the study. If you’re studying a current app or website, you can simply use that. For early design ideas, you can use a paper “prototype” made from pencil sketches or designed through software such as PowerPoint.
If you’re farther along in your ideas and want something more representative of the interactions, you can create an interactive prototype using a tool such as Balsamiq or Axure. Whatever you create, make sure it will allow participants to perform the tasks you want to test.
Find your participants
When thinking about participants, consider who will be using your product and how you can reach those people.
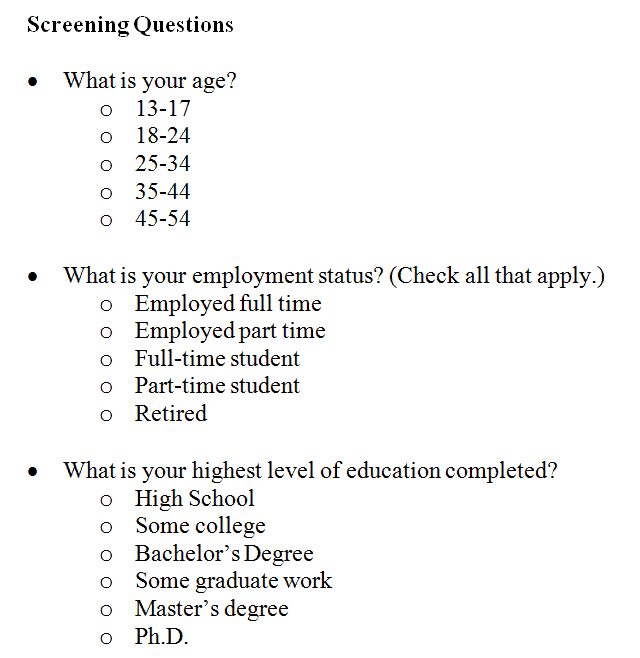
If you have an app that targets hikers, for example, you could post your request on a Facebook page for hikers. If your website targets high school English teachers, you could send out a request for participants in educational newsletters or websites. If you have more money, hire a recruiting firm to find people for you (don’t forget to provide screener questions to find the right people). If you have no money, reach out to friends and family members and ask if they know anyone who meets your criteria.

Be prepared. Participant recruiting is often one of the lengthier parts of any usability study, and should be one of the first things you put into action. This way as you’re working on other parts – like writing your tasks and questions – the recruitment process will be progressing concurrently.
You might also wonder how many participants you will need. Usability expert Jakob Nielsen says testing five people will catch 85% of the usability issues with a design – and that you can catch the remaining 15% of issues with 15 users. Ideally then, you should test with five users, make improvements, test with five more, make improvements, and test with five more. (As a general rule, recruit at least one more participant than you need, because typically one person will not show up.)
No matter who you’re testing, you’ll want to offer some sort of incentive, such as cash or a gift card, for participants’ time. The going rate is different in different parts of the world. Generally, you should charge more if the test in-person (because participants have to travel to get there), and less if it’s remote, through a service such as WebEx. Audiences that are hard to reach – such as doctors or other busy and highly trained professionals – will require more compensation.
Write a test plan
To keep yourself organised, you need a test plan, even if it’s a casual study. The plan will make it easy to communicate with stakeholders and design team members who may want input into the usability test and, of course, keep yourself on track during the actual study days. This is a place for you to list out all the details of the study. Here are potential study plan sections:
- Study goals: The goals should be agreed upon with any stakeholders, and they are important for creating tasks.
- Session information: This is a list of session times and participants. You can also include any information about how stakeholders and designers can log into sessions to observe. For example, you can share – and record – sessions using WebEx or gotomeeting.
- Background information and non-disclosure information: Write a script to explain the purpose of the study to participants; tell them you’re testing the software, not them; let them know if you’ll be recording the sessions; and make sure they understand not to share what they see during the study (having participants sign a non-disclosure agreement as well is a best practice). Ask them to please think aloud throughout the study so you can understand their thoughts.
- Tasks and questions: Start by asking participants a couple of background questions to warm them up. Then ask them to perform tasks that you want to test. For example, to learn how well a person was able to navigate to a type of product, you could have them start on the home page and say, “You are here to buy a fire alarm. Where would you go to do that?” Also consider any follow-up questions you might want to ask, such as “How easy or difficult was that task?” and provide a rating scale.
- Conclusion: At the end of the study, you can ask any observers if there are questions for the participant, and ask if the participant has anything to else they’d like to say.
It might help to start your test plan with a template.
Take on the role of moderator
It’s your job as moderator – the one leading usability sessions – to make sure the sessions go well and the team gets the information they need to improve their designs. You need to make participants feel comfortable while making sure they proceed through the tasks, and while minimising or managing any technical difficulties and observer issues. And stay neutral. You can do this!
The test plan is your guide. Conducting a pilot study – or test run – the day before the actual sessions start also helps your performance as a moderator because you get to practice working through all the aspects of the test.
Observe and listen
As you go through the study with participants, remember that it’s your job to be quiet and listen; let the participants do the talking. That’s how you and your team will learn. Be prepared to ask “why?” or say “Tell me more about that” to get participants to elaborate on their thoughts. Keep your questions and body language neutral, and avoid leading participants to respond a certain way.
During the sessions, someone will need to take notes. Ideally, you’ll have a separate note-taker so you can focus on leading sessions. If not, you’ll need to do this while moderating. Either way, set up a note-taking sheet in a spreadsheet tool (I use Excel) to simplify the process both now and when analysing the data. One organised way to do this is to have each column represent a participant, and each row a question or task. Learn more about writing effective research observations.
In addition to taking notes, plan to record the sessions using a tool such as WebEx or Camtasia as a backup, just in case you miss something. You’ll find a useful list of tools here.
Make sure you prepare for things to go wrong (and something always does). Consider the following:
- Some participants will be a few minutes late. If they are, but you still want to use them, what are the lowest priority tasks or questions that you will cut out?
- The prototype software could stop working or have a bug. Try to have a backup – such as paper screenshots – if you think this is a possibility.
- In a remote study, some participants will have difficulty using the video conferencing tool. Know in advance how the screen looks to them, what they should do, and common things that can go wrong so you can guide them through the experience.
Remote testing
If you’re conducting a remote unmoderated study, a remote tool – such as UserZoom or Loop11 – takes the place of the moderator. Because of the extra distance, you need to write your introduction to set the tone and provide background information about the study; effectively present the tasks; and keep users on track. It’s important to do as much as possible to test remote studies before launching them to prevent technical difficulties as well.
Present your findings
As you’re going through your sessions, it’s a good idea to jot down themes you notice, especially if they’re related to the study’s goals. Consider talking with observers after each session or at the end of each day to get a sense of their main learnings. Once the sessions are over, comb through your notes to look for more answers to the study’s stated goals, and count how many participants acted certain ways and made certain types of comments. Determine the best way to communicate this information to help stakeholders.

Consider these methods of documenting your findings:
- If your audience is an agile team that needs to start acting on the information right away, an email with a bulleted list of findings may be all you need. If you can pair the email with a quick chat with team members, the team will process the information better.
- A PowerPoint presentation can be a great way to document your findings, including screenshots with callouts, and graphs to help make your points stand out. You can even include links to video clips that illustrate your points well.
- If you’re in a more academic environment, or your peers will read a report, write up a formal report document. Don’t forget to include images to illustrate your findings.
Where to next?
These resources can serve as excellent references on usability testing:
- Don’t Make Me Think and Rocket Surgery Made Easy by Steve Krug
- Observing the User Experience by Mike Kuniavsky
- Handbook of Usability Testing by Jeffrey Rubin and Dana Chisnell
Once you master the basics of usability testing, you can expand into other types of testing such as:
- Remote moderated testing (same as lab testing, only your participants are somewhere else, and you communicate through WebEx or a similar tool and a phone)
- Remote unmoderated testing (usability testing with hundreds of people through a tool such as UserZoom or Loop11)
- A/B testing (testing two designs against each other to see which performs better)
- competitive testing (pitting your design against your competitors’ designs)
- benchmark studies (testing your site or app’s progress over time)
Usability testing is a critical part of the user-centered design process because it allows you to see what’s working and what’s not with your designs. Challenge yourself to get more out of your sessions by using at least one new idea from this article during your next – or first – round of testing.


These steps are helpful for doing Usability Testing.
Glad to hear it’s been helpful, Lisa. Thanks for letting us know. :)
Useful article, thanks!
Still I believe, if you’re not a computer person yourself, better entrust some proffesional team with your app testing. I’m looking for this kindd of team right now. Did last project testing with these guys https://qawerk.com/process/usability-testing/ and they were quite good, but this time i’d like to work with someone else, just to see the difference, you know
Shannon what is and how important is a usability assessment?
I like this course so much.
https://www.user.com.sg/5-usability-testing-tools-to-use/